Add favicon and page title in the Eloqua responsive landing page builder
I am currently creating some Eloqua landing page templates for a client using the new (today is the 13th May 2019) Eloqua responsive landing page builder.
First of all the new Eloqua landing page builder is really pretty cool – so well done to the Oracle Eloqua development team for coming out with this! Five stars for you!
The Eloqua landing page builder makes it really easy for non-technical users to create bulletproof landing pages. It has lots of features, a nice drag and drop interface, offers a load of flexibility and best of all is actually responsive. You may laugh but the old editor was awful and the templates Oracle offered us were nasty. I don’t like to trash talk the Eloqua platform but I feel that now the old landing page editor has nearly been resigned to the dustbin it’s ok.
Enough of the praise. It does have two things I noticed straight off were lacking. First of all it has no way of setting the page title and secondly it doesn’t allow you to set the favicon.
Since I am on the train back home I thought I would share with you the way I managed to set the page title and the favicon in a real quick blog post.
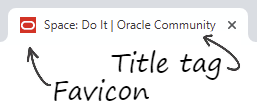
Background: Hopefully you know what a favicon and a page title are but just in case you don’t here goes. A favicon is the little image that shows up in your browser tab. It is mainly a branding thing. The page title is the text that shows up in that tab.
Disclaimer: I searched topliners initially and found three posts with different solutions. I tested the two that looked more advanced but for me they didn’t seem to work – therefore I have given you the simplest solution that I know for sure works.
Step 1. Add a Custom Code content area at the top of the landing page
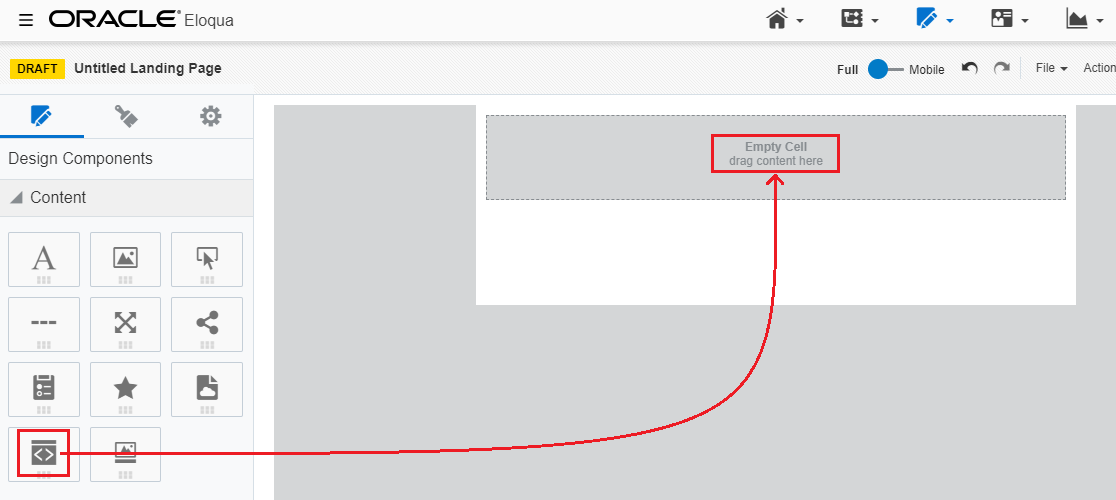
Click on the Custom Code content area in the Eloqua responsive landing page editor then drag it over on to the empty cell
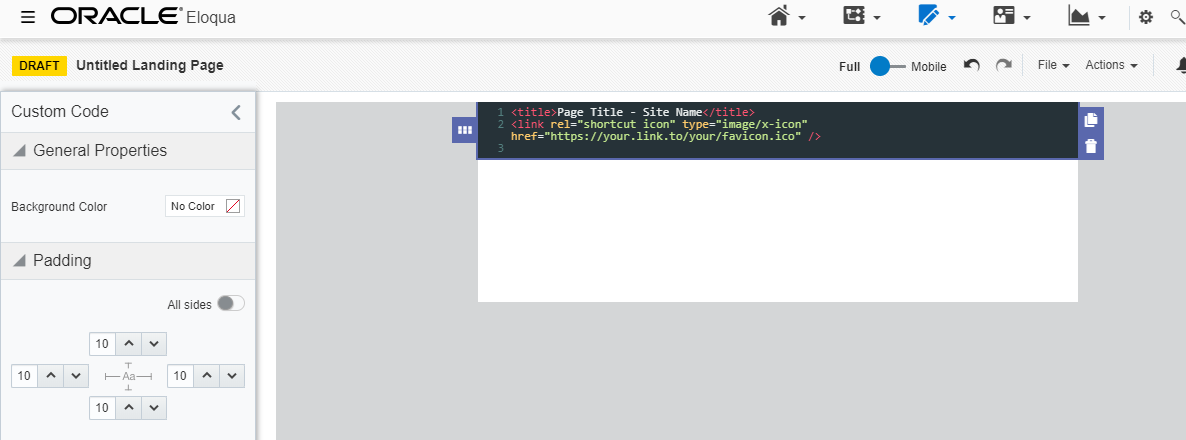
Step 2. Click in to the Custom Code content block that you have just set

Click into the Custom Code content block and an editor will appear
Step 3. Modify the code below and drop it in
<title>Page Title – Site Name</title>
<link rel=”shortcut icon” type=”image/x-icon” href=”https://your.link.to/your/favicon.ico” />
Conclusion:
This simple three step process will set both your title and favicon every time on your Eloqua landing pages.

Eloqua Progressive Profiling 2: Resetting the form if the email address is wrong
I like to break form questions down into into four parts. When an Eloqua landing loads, provided the user has the Eloqua cookie set, their information is automatically populated which gives you something to play with. The first part is email address (if this is the...
Eloqua Progressive Profiling 1: What is it?
Most clients I have ask me how they can quickly start doing Eloqua progressive profiling on their Eloqua landing pages. I hear you ask why? Easy, the Eloqua progressive profiling module is pony (pony is a slang UK English word for rubbish - fun fact for your day). ...

HMH: Eloqua campaign reporting on SFDC Dashboards
Client Challenge HMH approached Automate2Revenue who I was contracted to with the following objectives: Deliver SFDC CMO dashboards in Early 2021 that reflect current lead management state Agree on an approach for lead and campaign management using industry best...

Eloqua Tool: Eloqua Blind Form Submit Tool
Using the tutorial I have created here: https://greg-staunton.com/eloqua-blind-form-submit add in the different things you need to create your blind form submit in the tool below. Simple!
The title tag is set by the title of the page so not necessary to set it twice. Since the favico is set using code that is embedded in the body, it’s not a cross-browser solution. Appreciate the effort though.
Unless I am mistaken manipulating the title tag wasn’t an option until the last update. The favicon is the best I could get it.
Greg, have you experienced incompatibility lately with favicons not rendering in Chrome? If so, how have you resolved that? Our pages work fine in FF, but show default icon in Chrome.